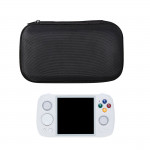
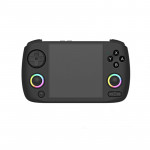
Anbernic RG Nano Setup Guide
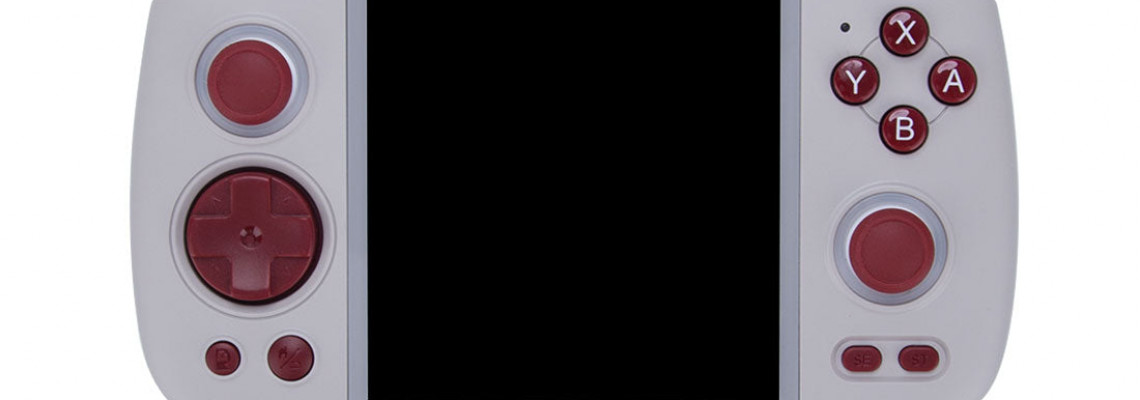
Anbernic RG Nano Setup Guide
Recommended Accessories
- MicroSD Card: You would be fine with either 128GB or 256GB, given the platforms this runs on.
- MicroSD Card Reader: UGREEN SD Card Reader
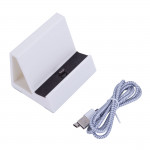
- Charger: UGREEN 65W Charger (To charge, use the USB-A port.)
Preparation
Clone SD card: These gadgets come with unbranded, poor-quality, and frequently failing SD cards. It is recommended that you change them as soon as the gadget is delivered. Click here to learn how to clone your SD card. Before using this advice, I strongly advise doing so.
Stock Setup Guide
With a brand-new, branded SD card and your own ROMs and BIOS files, this setup instruction assumes you want to start from scratch. You don't need to flash the firmware if you cloned your disk above.
Flash Firmware
The first thing you should do is get the most recent firmware, which you can do here. Scroll down to locate RG NANO in the firmware list. Click "Download Now."
Copy and paste the URL from the RG Nano firmware page into the bar of your browser.
Right-click and download the file with the extension ".img" after opening the Flash system folder.
Rufus will now be used to flash this picture. It is available for download on the Rufus website; I recommend the Portable version.
Connect your SD card to your computer using an SD card reader, then launch Rufus after selecting the. For the image file we just downloaded, click Start.
After it's finished, insert the SD card into your RG Nano, turn it on, then carefully eject it.
It will perform a few things in the upper left corner; ignore it until it prompts you to choose your preferred language. Choose your language; English is B.
A clock should now appear, and pressing Start will launch the firmware.
Adding ROMs & BIOS
Let's do it if you're starting from scratch using the instructions above or if you recently received an RG Nano and would like to know how to add or remove games.
Use an SD card reader to connect your SD card to your computer.
Numerous folders should be visible to you, many of which have system names like Game Boy, Game Boy Advance, SNES, and so on.
It should be pretty apparent by now, but feel free to add or remove games for each system as they are contained within those files. Remember that most systems require you to unzip your ROMs.
It is necessary to place the PS1 BIOS files into the PS1/bios folder.
How to update Stock firmware
- Go to the firmware download page on the Anbernic website, which is situated here.
- Locate the RG Nano, then choose "Download now."
- After copying the download link for the most recent version into your browser, go to the "system update and upgrade" folder.
- Get the file in. fwu format.
- Use an SD card reader to connect your SD card to your computer.
- The. fwu file should be placed directly on the SD card's root.
- Please turn on your smartphone after ejecting the SD card and putting it in. When you see the clock, you're done! Let it do its job!
Where to find ROMs & BIOS files?
Custom Firmware Options
The stock firmware we set up above can be replaced with custom firmware. Use a different, brand-new SD card to test out any custom firmware and keep your stock one on hand in case you decide to go back.
DrUm78
With a brand-new, branded SD card and your own ROMs and BIOS files, this setup instruction assumes you want to start from scratch. DrUm78 will be installed for this guide.
Visit the DrUm78 Github page here to download the most recent version, which has RG_Nano in the name and ends in. img. Do not download the one that ends in. fwu.
As I suggested above, attach your branded SD card to your PC. If you still need Rufus, download it.
To choose the. For the image file we just downloaded above, launch Rufus and select choose.
Press Start, then wait for it to finish.
After that, safely insert the SD card into the RG Nano, switch it on, and eject it. Let it do its job until the main screen appears.
You've finished configuring DrUm78! To add ROMs and BIOS files, proceed as directed.
Adding ROMs & BIOS files to DrUm78
Attach your PC to your SD card.
There should be numerous folders for every system the gadget supports if you look inside the SD card.
Moving your ROMs for each system into the appropriate system folder should be self-explanatory at this stage.
The BIOS folder is within the system directories. Your bios files should be moved to that folder.
Updating DrUm78
You can download the most recent version from the DrUm78 Github page here; it's the one with RG_Nano in the name and ending in. fwu for upgrading.
After connecting your SD card to your computer, transfer the—fwu file to the SD card's root.
After safely ejecting and inserting the SD card, turn the RG Nano on. It will update itself when you do so.
