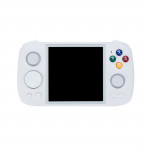
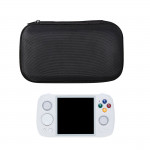
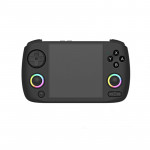
Anbernic RG28XX Setup Guide
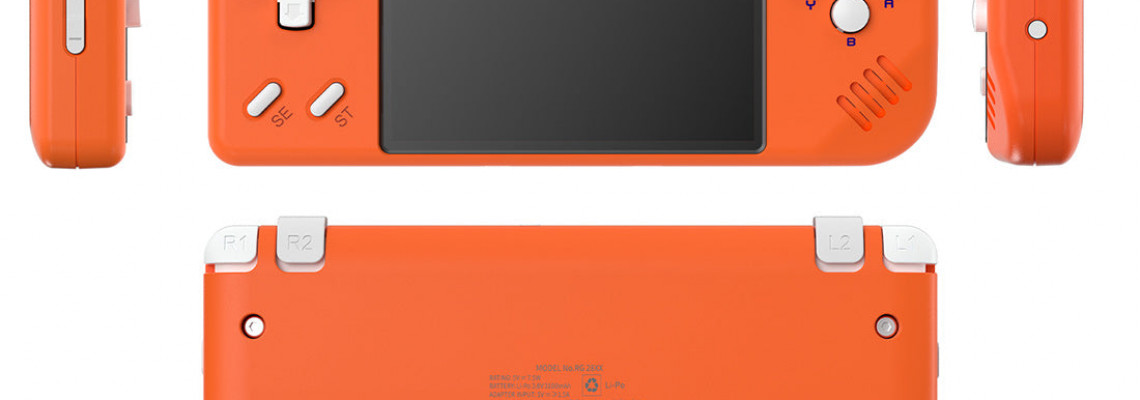
Anbernic RG28XX Setup Guide
Recommended Accessories
- SanDisk 64GB – Regarding the initial SD card slot.
- Samsung 128GB – For the second SD card slot (or this as a single card if you choose to use only one card).
- UGREEN SD Card Reader – Excellent choice for an SD card reader.
- UGREEN Mini HDMI to HDMI – for the HDMI output.
How to add games on Stock firmware
You can add games to your Anbernic RG28XX using two or one SD card. Whether you're using two or one SD card will determine everything.
If you only have one SD card, remove it from the TF1 slot on the bottom of your handheld when the handheld is off, then connect it to your PC using an SD card reader.
This folder structure is probably what you'll see on the SD card.
Subfolders for a variety of gaming systems can be found inside the Roms folder, but this may be self-explanatory at this point. The Game Boy Advance games that came with the device are visible if you navigate inside a folder, such as GBA.
Adding any new Game Boy Advance games to this particular folder is relatively easy. Your new games will be visible the next time you switch on the device.
Two Card Setup
Here are the steps to follow if you have two SD cards or wish to add a second, larger SD card.
First, switch on your device and put the second SD card into the TF2 slot while the handheld is off.
After that, please switch off the device, remove the SD card from the TF2 port on the bottom, and connect it to your PC using an SD card reader.
The SD card should have a folder structure similar to this.
The Roms folder contains numerous subfolders for various game systems. If you navigate inside a folder, such as GBA, you can see the Game Boy Advance games that came with the device.
You may now move your games from your old SD card to this new one by inserting the old one, backing up your Roms folder to your desktop, deleting the games from the old one, and then putting the new SD card in and overwriting the Roms folder.
Now that your ROMs are on your second SD card, you're ready to go.
Adding Box Art
We'll have to use the PC to create the box art since some of you might desire it, and it's not possible to do it on the device. I'll go through that rather rapidly.
After connecting your PC's ROM SD card, go to Screenscraper.fr and create an account.
At the top right, select Skraper, then at the top, select Download. Get the OS version.
Use 7-Zip to extract the 7z file. After creating your Screenscraper login credentials, launch SkraperUI.exe and log in. Next, click Validate.
It will take a very long time if you let it download resources.
Next, click Generic Emulation.
It now asks where your Roms are, so click the folder and go to the Roms folder and your SD card. Click "Next" to see all of the systems displayed here.
Then, one more.
On the left, you can see all of the system directories it discovered, whether or not they include Roms. If it missed a few, click the Plus icon, locate the system it missed, click the system icon, and then click "Okay." You must now point it to the location of that system, so on the SD card, move the Games/Roms folder to the appropriate folder for that system. For any systems that need to be included, do this.
Go to the left, select All Systems, select Game List, and select "no backup"—just an update of the current system. You can choose what you want scraped by going to Media. I'll use the minus button on the left to get rid of the manual, as I don't need it. You have a choice in terms of internal mix and media kind. I'll just keep it at four pictures.
Remove the media and images from the output folder and replace them with images. The text ought to be: %ROMROOTFOLDER%\Imgs\
Click the play button in the lower right corner after it's set. After that, click OK, and it will start up. A very, very long period will pass before this is finished. It doesn't really matter; you can click the X to stop it and then play again later, and it will skip games that have already been scrapped. However, I suggest working on one system at a time by picking the system on the left and then pressing play. In either case, you will be able to view the Rom pictures on the device after it has finished scraping and you have inserted your SD card again.
Where are my saves on Stock firmware?
By default, standalone saves are found in the /save/Roms/xxx (where xxx is the system name) folder.
By default, RetroArch saves are found in the subdirectory /saves_RA/Roms/xxx (where xxx is the system name).
By default, RetroArch states are found in the subdirectory /states_RA/Roms/xxx (where xxx is the system name).
These folders would be on the second card in a two-card arrangement.
How to update Stock firmware
- Make a backup of your save files as well as any other files you wish to save (the states, roms, save, and saves folders, or all the folders, if that's more convenient).
- Go to the firmware download page on the Anbernic website, which is situated here.
- Locate the model of the device and choose "Download now."
- Download the firmware by copying the download link for the most recent version into your browser. At over 50GB, this zip file is highly huge.
- After extracting the zip file, navigate to the folder that is created.
- A folder labeled EN16GB and another labeled EN64GB should now be visible to you. Don't unintentionally select the 16GB; you want the 64GB.
- You might see a.7z or.zip file when you go inside the 64GB folder. Extract it (you'll need 7-zip for 7z files). A.img file should now appear.
- Attach your PC to your SD card. Use Rufus, which is in that folder, to image a new SD card using this.img file, or your existing card (overwriting everything). Launch Rufus, choose from the options on the right and locate the. img file, and click "Start."
- After that, restore all of your ROMs, save files, and other files that you wish to restore.
- You are up to date once you insert the card into your device!
Where to find ROMs & BIOS files?
Custom Firmware Options
The stock firmware we set up above can be replaced with custom firmware. I advise using a different, brand-new SD card to test out any custom firmware and keeping your stock one on hand in case you decide to go back.
muOS
With a brand-new, branded SD card and your own ROMs and BIOS files, this setup instruction assumes you want to start from scratch. For this tutorial, muOS will be installed.
