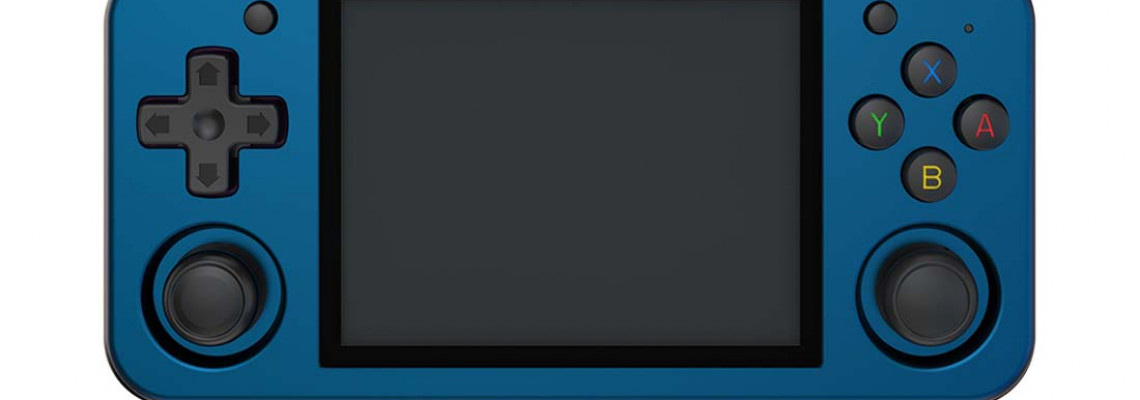
Anbernic RG351P Setup Guide

Anbernic RG351P Setup Guide
Recommended Accessories
- MicroSD Card: You would be fine with either 128GB or 256GB, given the platforms this runs on.
- MicroSD Card Reader: UGREEN SD Card Reader
- Charger: UGREEN 65W Charger (To charge, use the USB-A port.)
AmberELEC
With a brand-new, branded SD card and your own ROMs and BIOS files, this setup instruction assumes you want to start from scratch. AmberELEC will be installed for this guide.
Download AmberELEC-RG351P.aarch64-20230203.img.gz, the most recent release, by visiting the AmberELEC GitHub page here.
Use 7-Zip to extract that img.gz file from 7-Zip.org.
As I suggested above, attach your branded SD card to your PC. If you still need Rufus, download it.
To choose the. In the image file, we just extracted it from the img.gz file, opened Rufus, and selected choose.
Press Start, then wait for it to finish.
Once that is finished, carefully insert the SD card into the Anbernic RG351P and turn it on. Let it do its job until the main screen appears.
AmberELEC setup is complete! To add ROMs and BIOS files, proceed as directed.
Adding ROMs & BIOS files to AmberELEC
Attach your PC to your SD card.
If you navigate to the SD card's GAMES partition, you should find numerous folders for every system the device supports.
Moving your ROMs for each system into the appropriate system folder should be pretty self-explanatory at this stage.
The BIOS folder is within the system directories. Your bios files should be moved to that folder.


