How to clone your SD card for Retro Handhelds
How to clone your SD card for Retro Handhelds
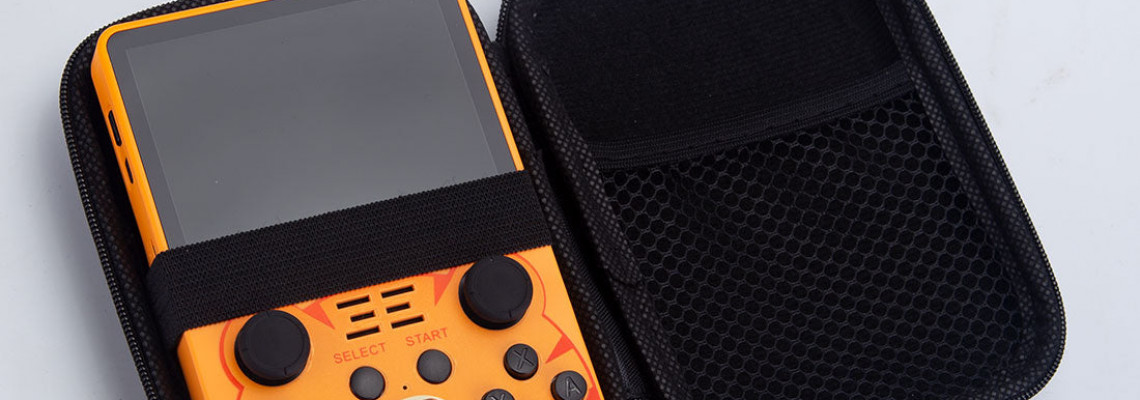
In this article, I'll explain how to successfully clone your SD card for use in your brand-new vintage handheld.
Note that the Anbernic H700 series of devices (2024/SP/H/Plus, etc.) are not compatible with this tutorial.
Why clone it?
Using a new SD card and imaging it with any firmware—including stock firmware—is the "correct" way to accomplish all of this. However, some people like to clone it as it is and don't want to do that.
There are several reasons. First, the device's SD card is typically rubbish. It must be unbranded, of better quality, and prone to failure. You are advised to use a branded SD card since you are on borrowed time.
Even the ROMs have problems, so starting from scratch is advised. In Pokemon, you'll immediately notice when you can't save or advance through specific game sections. Pokemon is not the only example of this. Therefore, creating your own ROM library is also advised.
Let me assist those who are simply looking for a quick fix.
Preparation
You'll need two SD card readers or one with two slots for preparation. I've often used this UGREEN SD Card Reader and heartily endorse it. The standard MicroSD card will fit in one slot, and the second MicroSD card—for which you will need to use the converter that typically comes with the card—will fit in the other.
Refer to this list for suggestions on MicroSD sizes.
Cloning the right way
Your first step should be to install and download DiskGenius. The download option is in the upper right corner of that page.
Launch DiskGenius after completing the installation with all the default options.
From the top, choose Tools, then Clone Disk.
A list of your computer's drives and disks will now appear. Choose your source disk, such as the device's original MicroSD card or the one you wish to clone from.
After choosing your target disk in a subsequent popup, you must select the brand-new MicroSD card you wish to clone.
Verify that you have copied every sector.
When a warning appears after clicking Start, you can click OK.
Let it do its thing; this will take some time.
After the copying process is complete, you may have a lot of unused space. For instance, if you cloned a 16 GB card to a 256 GB card, there is likely more than 200GB of capacity that is currently unused and unavailable to you. The ROM partition should ideally utilize that space. Let's take that action.
You want to determine which of your partitions is the SD card partition, which will vary depending on the firmware and device. If you're lucky, you might only observe one Partition, in which case we can extend it; other times, you might see five, six, seven, or more.
Open DiskGenius after ejecting all of your SD cards and connecting the authentic, branded SD card we copied to. On the left, select it.
From that list, I can see that my ROMs are in the EASYROMS partition, which is currently on my J drive. Right-click on the Partition and choose Extend Partition.
In the screenshot below, you can see that it should expand automatically after comparing the 1.0GB to the new 105.54 GB.
Click Start now. If there are any cautions, click yes.
You're done! Checking that Partition now will reveal that it consumes all your space, allowing you to move more ROMs and files across.
