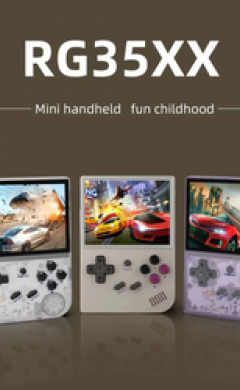
R35S/R36S Setup Guide
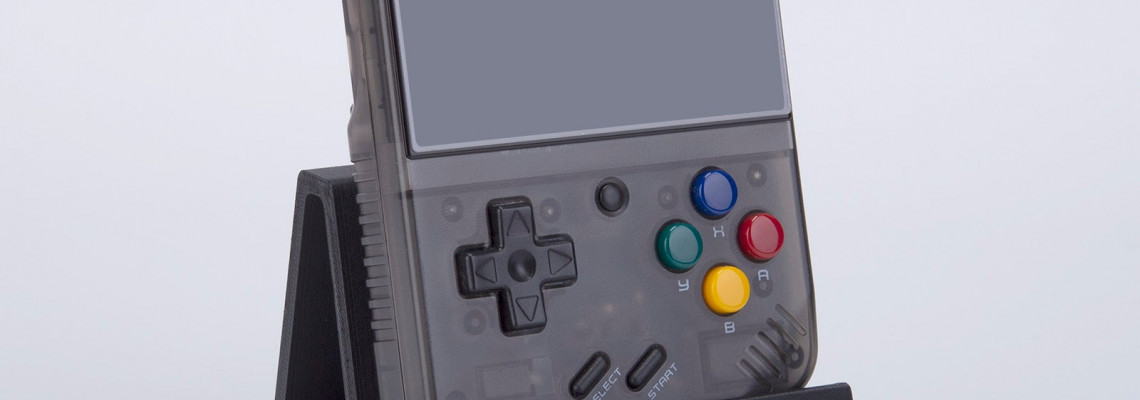
R35S/R36S Setup Guide
Recommended Accessories
- Samsung 128GB – for the second slot for an SD card.
- SanDisk 64GB – Regarding the initial SD card slot.
- UGREEN SD Card Reader – Excellent choice for an SD card reader.
What is ArkOS?
ArkOS is the best operating system for this device so that we will install it. The developer has excellent community support and is responsive and active.
As usual, you must have a branded SD card and a branded SD card reader before we begin. Please don't use the stock SD card; toss it away. This also applies to the ROM card. The SD cards and the ROMS are unbranded, of poor quality, and prone to failure. The R35S includes two SD card slots: one for the operating system (or both OS and ROMs, if you want to use it for both), and another for ROMs. I recommend a 128GB SD card, although you can use a single card to save money. The OS only takes up a little room, so if you wish to use two SD cards, you can put a 64GB card in the first slot and a 128GB card in the second. There is no wrong answer—it's your choice.
Only proceed with the options listed above for SD cards and readers!
ROMs & BIOS Preparation
Your BIOS library and ROM are the final things you need. Getting the Tiny Best Set will be a simple method to get set up with a ton of games to play if all you want is an extensive list of games that you can then choose which ones to play. If you would like, read the instructions and download the version corresponding to the size of your SD card and the artwork. If you have an extensive collection, it saves a ton of time, but it is optional. When we reach that stage, you can transfer the ROMs from the folder you downloaded to the folder on the R35S SD card because all the folders in the zip are platform folders. Drag and drop is what it is.
All right, your ROMS and BIOS files, along with your SD card and SD card reader, are ready to use. Let's go on.
Installing ArkOS
In terms of software, we require Rufus and 7-Zip. This will assist us in using ArkOS to image our SD card. If you download 7-Zip from the 7-Zip link, the image will be extracted from the zipped file. Set up 7-Zip.
Let's get the ArkOS image as well. Go to the ArkOS wiki and get the RG351MP image to accomplish this. To start the download, click Mega or GDrive. Right-click it after downloading, select 7-zip, and then extract it here. After that, you ought to see an image file. Many users err by imaging the first file they download, which requires extraction.
Connect the branded SD card you wish to use for the operating system to the computer using the SD card reader.
Verify that the SD card you connected to your computer is the device listed when you launch Rufus. Select from the menu on the right, then find and pick the image file that we extracted. After leaving everything else alone and clicking Start, you can click Yes to securely accept any popup warnings that may appear. The Start will take some time, so check on some loved ones.
Setting up ArkOS
After everything is finished, carefully detach the SD card, then insert it into the TF1-OS slot on the right side of the device while it is turned off and the TF2-GAME slot on the opposite side is empty.
If you get a white screen (skip to Both Methods if yours booted correctly)
Two things may happen now. You may enter ArkOS, and everything will be OK, or you may experience what I did: a flashing white screen. We need to replace a file, so if this is you, press and hold the power button to turn off the device. Then, remove your SD card and put it back into your PC. Replacing the file and reinstalling the device might work, but if you want to be extra sure or if that doesn't work, follow the same steps to reflash ArkOS, replace the file as I'm going to demonstrate, and reinstall the device. That was something I had to accomplish myself.
When you re-insert your SD card into the computer, popups alerting you that it has not been formatted will appear. Click cancel; otherwise, you will have to start this tutorial over from the beginning.
The issue is that we cannot access the Windows drive to change the file now. Therefore, we must utilize Minitool Partition Wizard, another program. Don't install the trial or pro versions; instead, install the free version.
After launching the MiniTool Partition Wizard, we wish to assign the SD card partition a drive letter. Right-click the BOOT partition, click Unhide Partition, type a letter, and click Apply. The drive should now be visible on your computer, and you can open it.
You're looking for the DTB file now. Could you get it here? Could you remove the underscore five and rename it? After that, transfer the file to the BOOT partition. Put the file back there. After ejecting the SD card, pop the SD card back into the device.
After seeing the ArkOS text logo, several things will occur, including two device reboots. Don't bother.
Before putting it into your device, replace the DTB file and flash ArkOS if none works for you and you get a flickering line. Everything should then work.
When you see the Celeste image, or essentially the front end, and can begin scrolling through, you will know that everything is finished. If you're using the one SD card method, which essentially ends here, you can move on to the following step. Push starStartvigate to quit, shut the system, and click yes. Remove your SD card and replace it on the computer.
If you get a black screen (skip to Both Methods if yours booted correctly)
If you're seeing a blank screen, you'll need to try other DTB files. The screens have been updated for newer devices. The link is AeolusUX/R36S-DTB/tree/main/New%20Screens: https://github.com/. You must download the files from Panel 1/2/3/4 and swap them out on your device until one set functions.
To do this, flash ArkOS onto the card, swap out the DTB, insert the device, and test it.
Repeat the procedure with the next DTB if it doesn't work; one of the four will.
Two-Card Method Only
Let's go if you're using the two SD card technique. Attach your ROM SD card to your computer. Ensure it is the one you intend to use for ROMs, not the one we used for the OS. Rufus, open. Select non-bootable as the boot option. You can click Start with everything else set to default. When finished, close and eject. With the device turned off, insert both SD cards, placing the ROM card in the left-hand GAME slot. Activate the gadget. Navigate to Advanced under Options, then choose Switch to SD2 for Roms. After a few seconds, push starStartit, shut down the system, and click yes when redirected to the front end.
Both Methods
Now, insert your SD card back into the computer. If you're using the two-card technique, insert the ROM SD card; if you're using the single SD card, use the single SD card. If you're working with a single card, you should see the EASYROMS drive; if you're working with two cards, you'll see whatever the SD card's name was when we formatted it; mine is 128 GB. This should be self-explanatory, containing all of the device's platform folders.
If you previously downloaded the Tiny Best Set, simply move the ROMS from those directories to this location. Here, GB stands for Gameboy to GB. You can't simply copy the folders to the correct folder because different platforms have different names. You can see my example on the screen with the Gameboy roms in the Gameboy folder. Specifically for the PlayStation 1, ensure your BIOS files are in the BIOS folder.
That is all there is to it; after adding the ROMS and any desired files, you may eject your SD card and reinstall it on your device, making everything populate. If you encounter a system that isn't displaying your games, try unzipping them if you have them zipped.
